Shanks 101
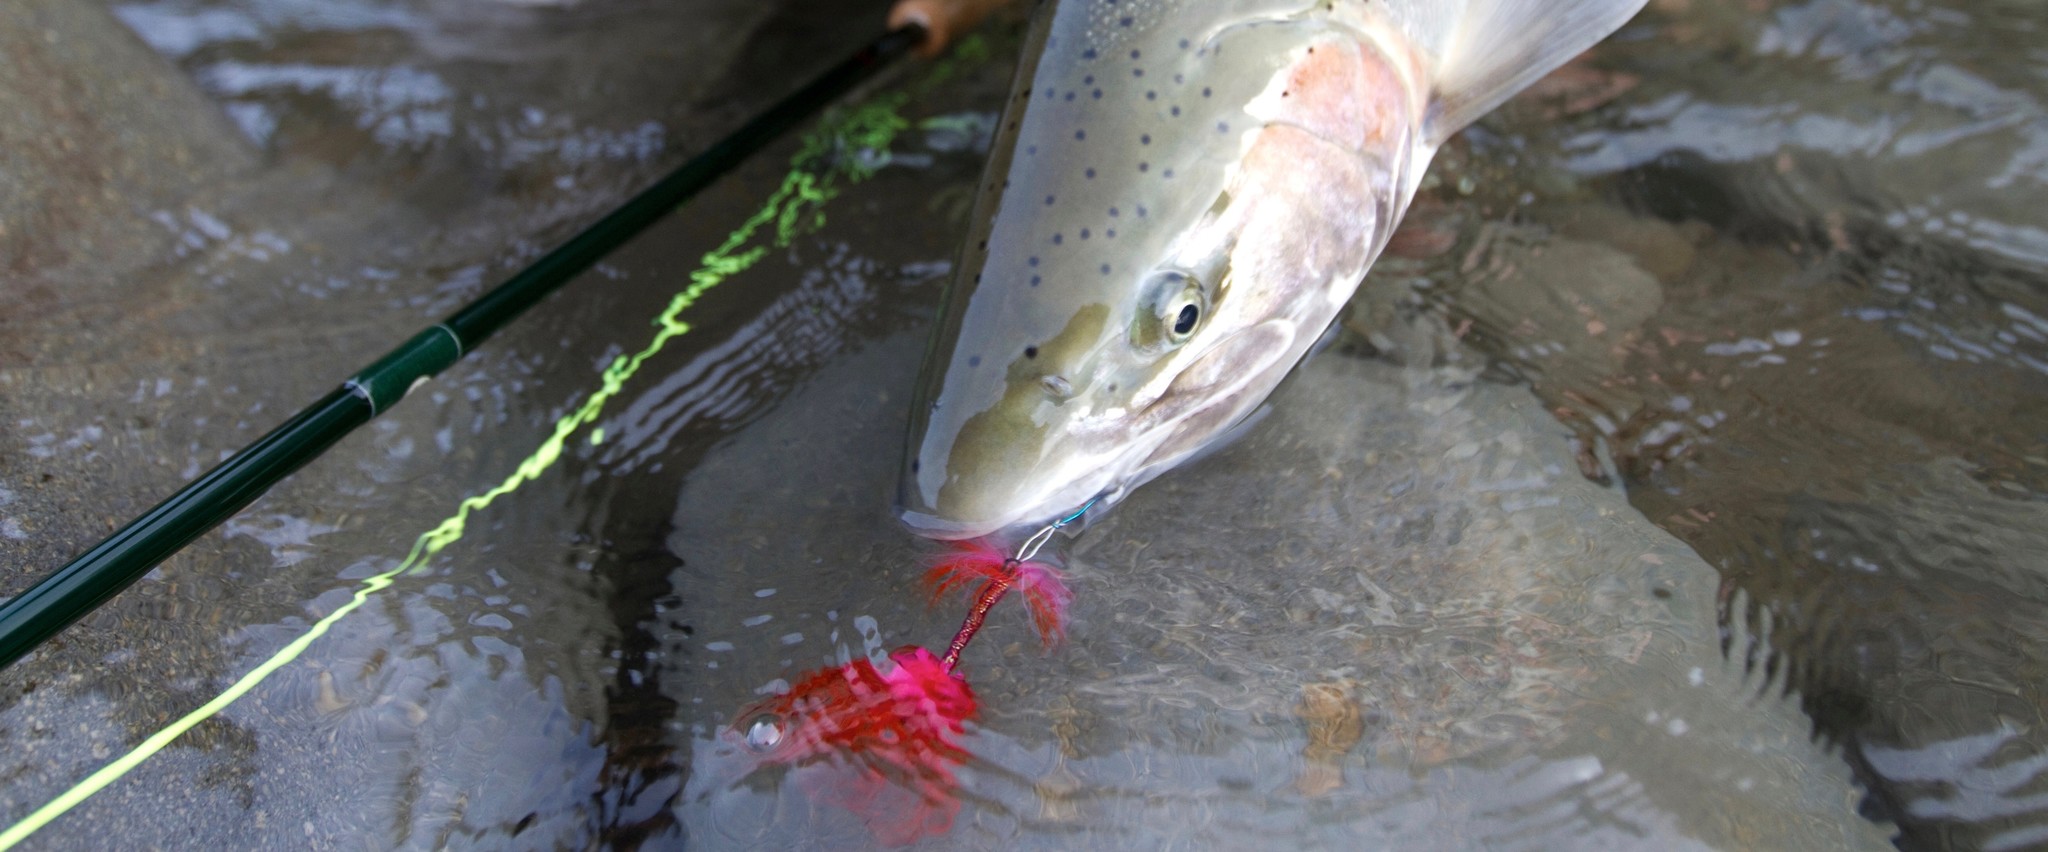
When I started chasing winter steelhead 20 years ago flies were very simple. The biggest requirement was that they were easy to cast. Back then the landscape was a whole lot different. Spey rods were new and there was no such thing as a Skagit line. It was hard work casting big heavy flies. We mostly fished smallish flies, rabbit or marabou flies tied on 1/0 hooks.
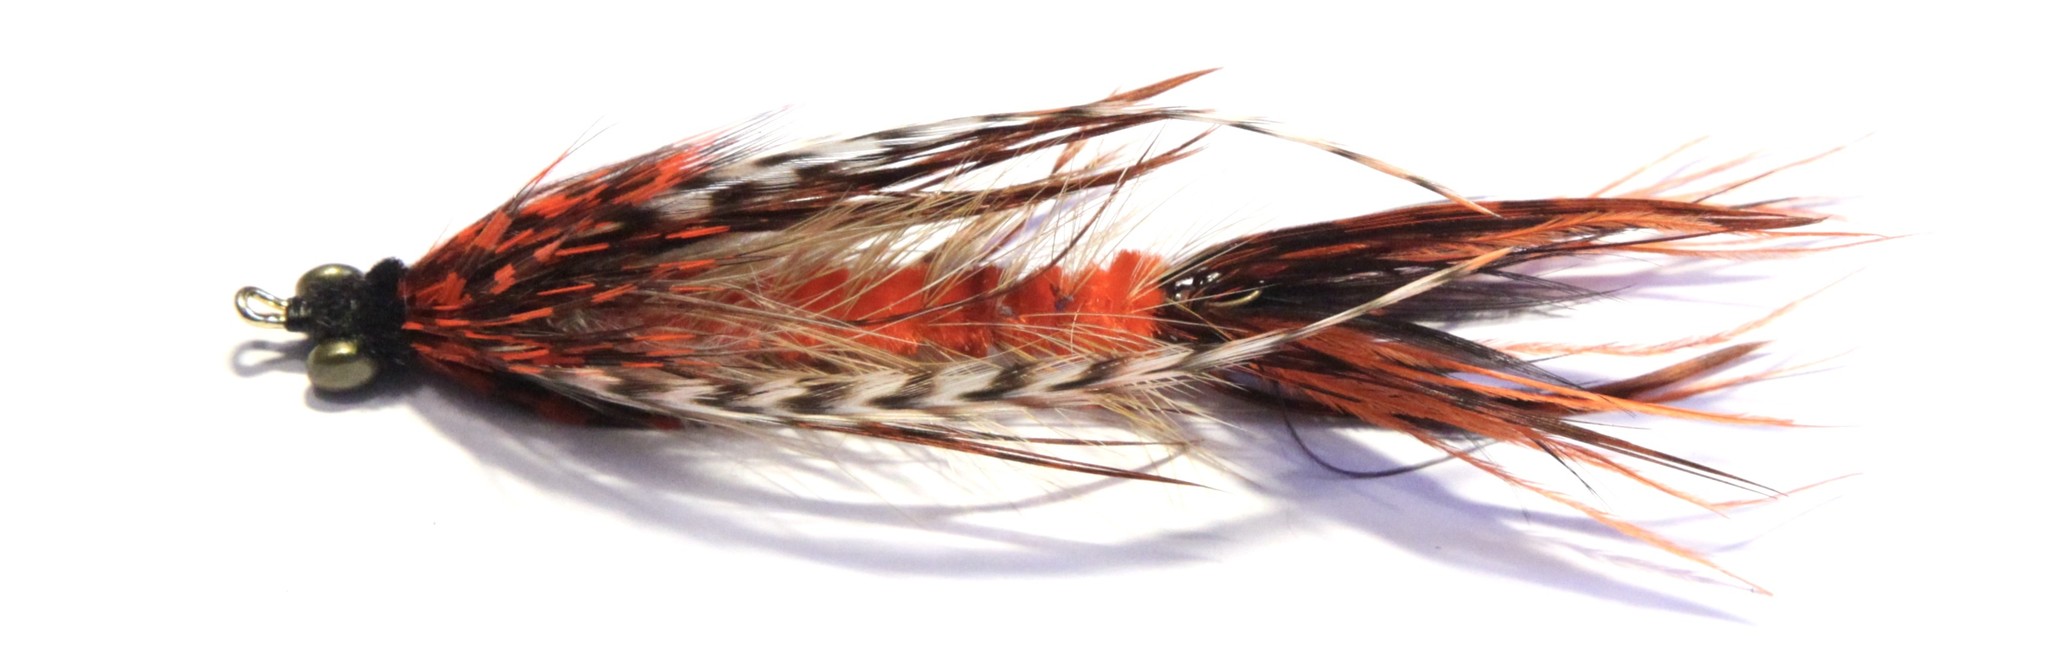
Once we became a little more capable with the Spey rods we started fishing bigger marabou tube flies and then string leeches. After a couple more years maybe 2003 or 2004 we started cutting our own Spey lines so that we could more easily cast sinking tips and bigger flies. Around that time we started to hear about a fly called the intruder. It was tied on a 3/0-5/0 salmon hook that was heated up with a torch and straightened out. We had never seen the fly but we had heard stories so we started tying our version of this fly. These flies were very crude and primitive but they evolved and became better and better. At the time Marty Sheppard and I were living together our dining room was our tying are and that’s were the Metal Detector was born. I’m sure I still have one of the very first ones buried somewhere in my tying stuff.

Around 2005 RIO came out with the first Skagit line, that changed steelhead fishing. We were able to cast bigger flies with ease. The New Skagit line not only changed the way we cast, but it opened up a whole new world of fly tying. Combine this with new innovation with the growing internet and things were starting to happen. We started getting Waddington Shanks which were basically the first shanks used for tying big winter flies. The Waddington shank was meant to have a treble hook attached to the back of it. Instead we lashed down wire that had a hook looped onto it. That was the first real stinger style of fly rigging and we basically still rig it that way to this day.
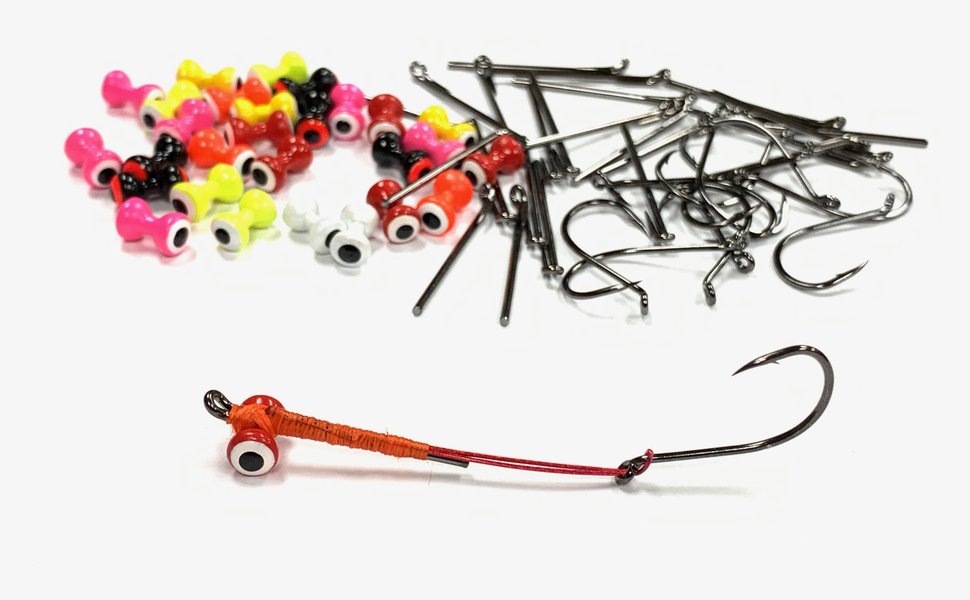
There are a lot of ways to rig these shanks up and this way is probably the most popular.
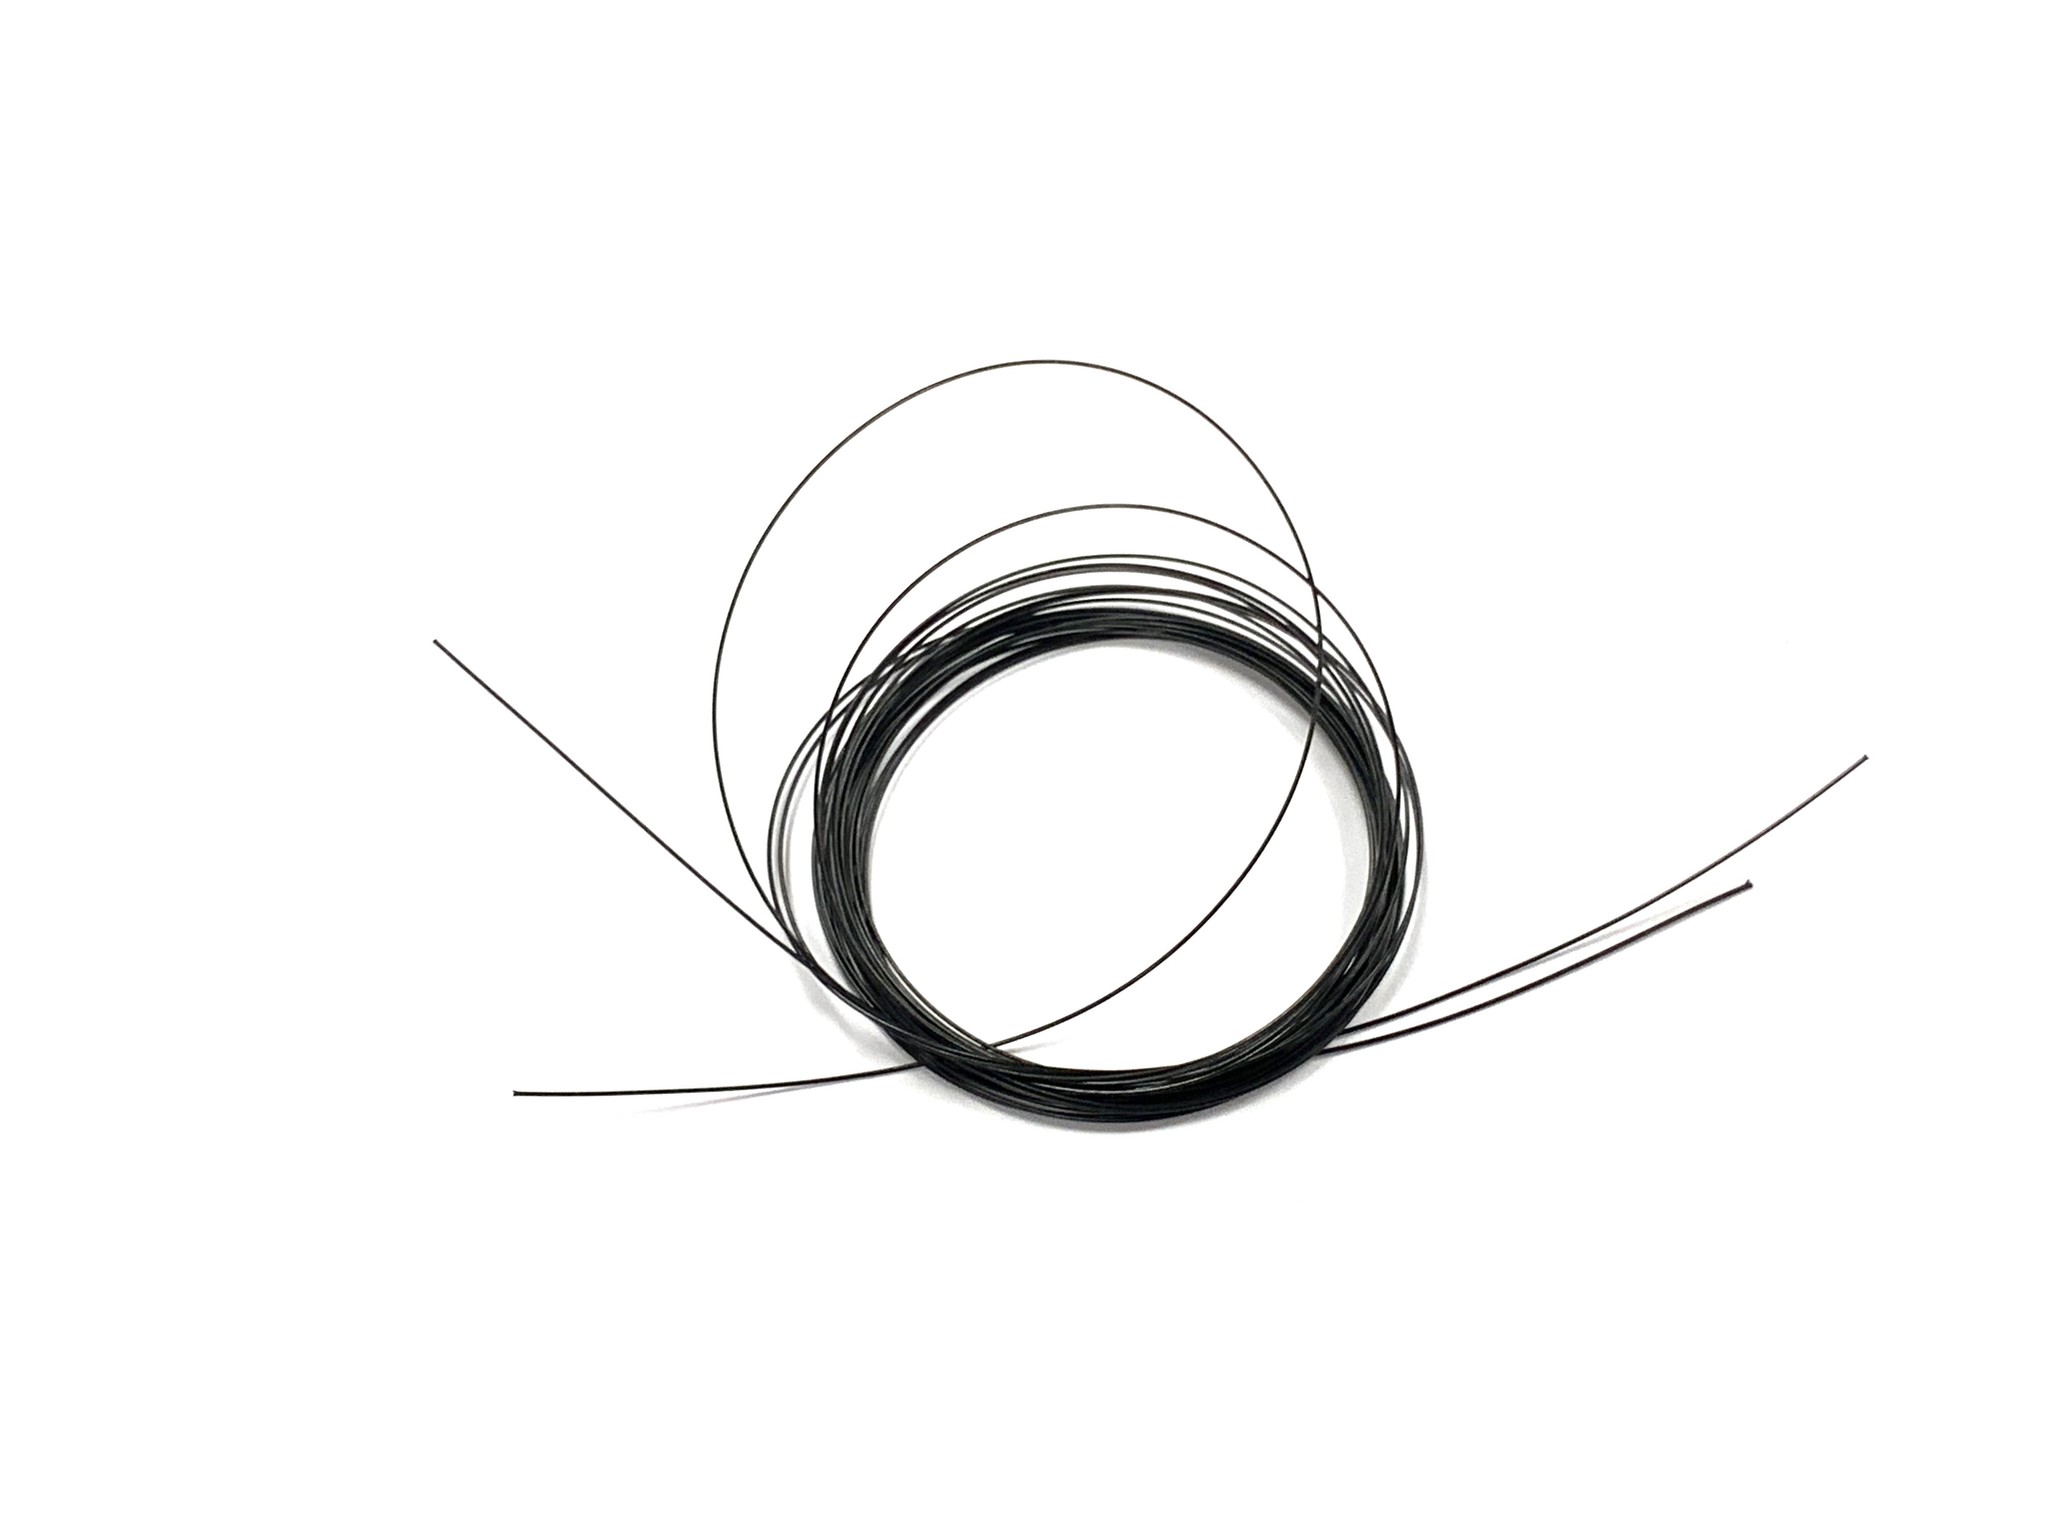
- Cut a length of wire approximately 3” long. The length will vary depending on the hook and shank size.
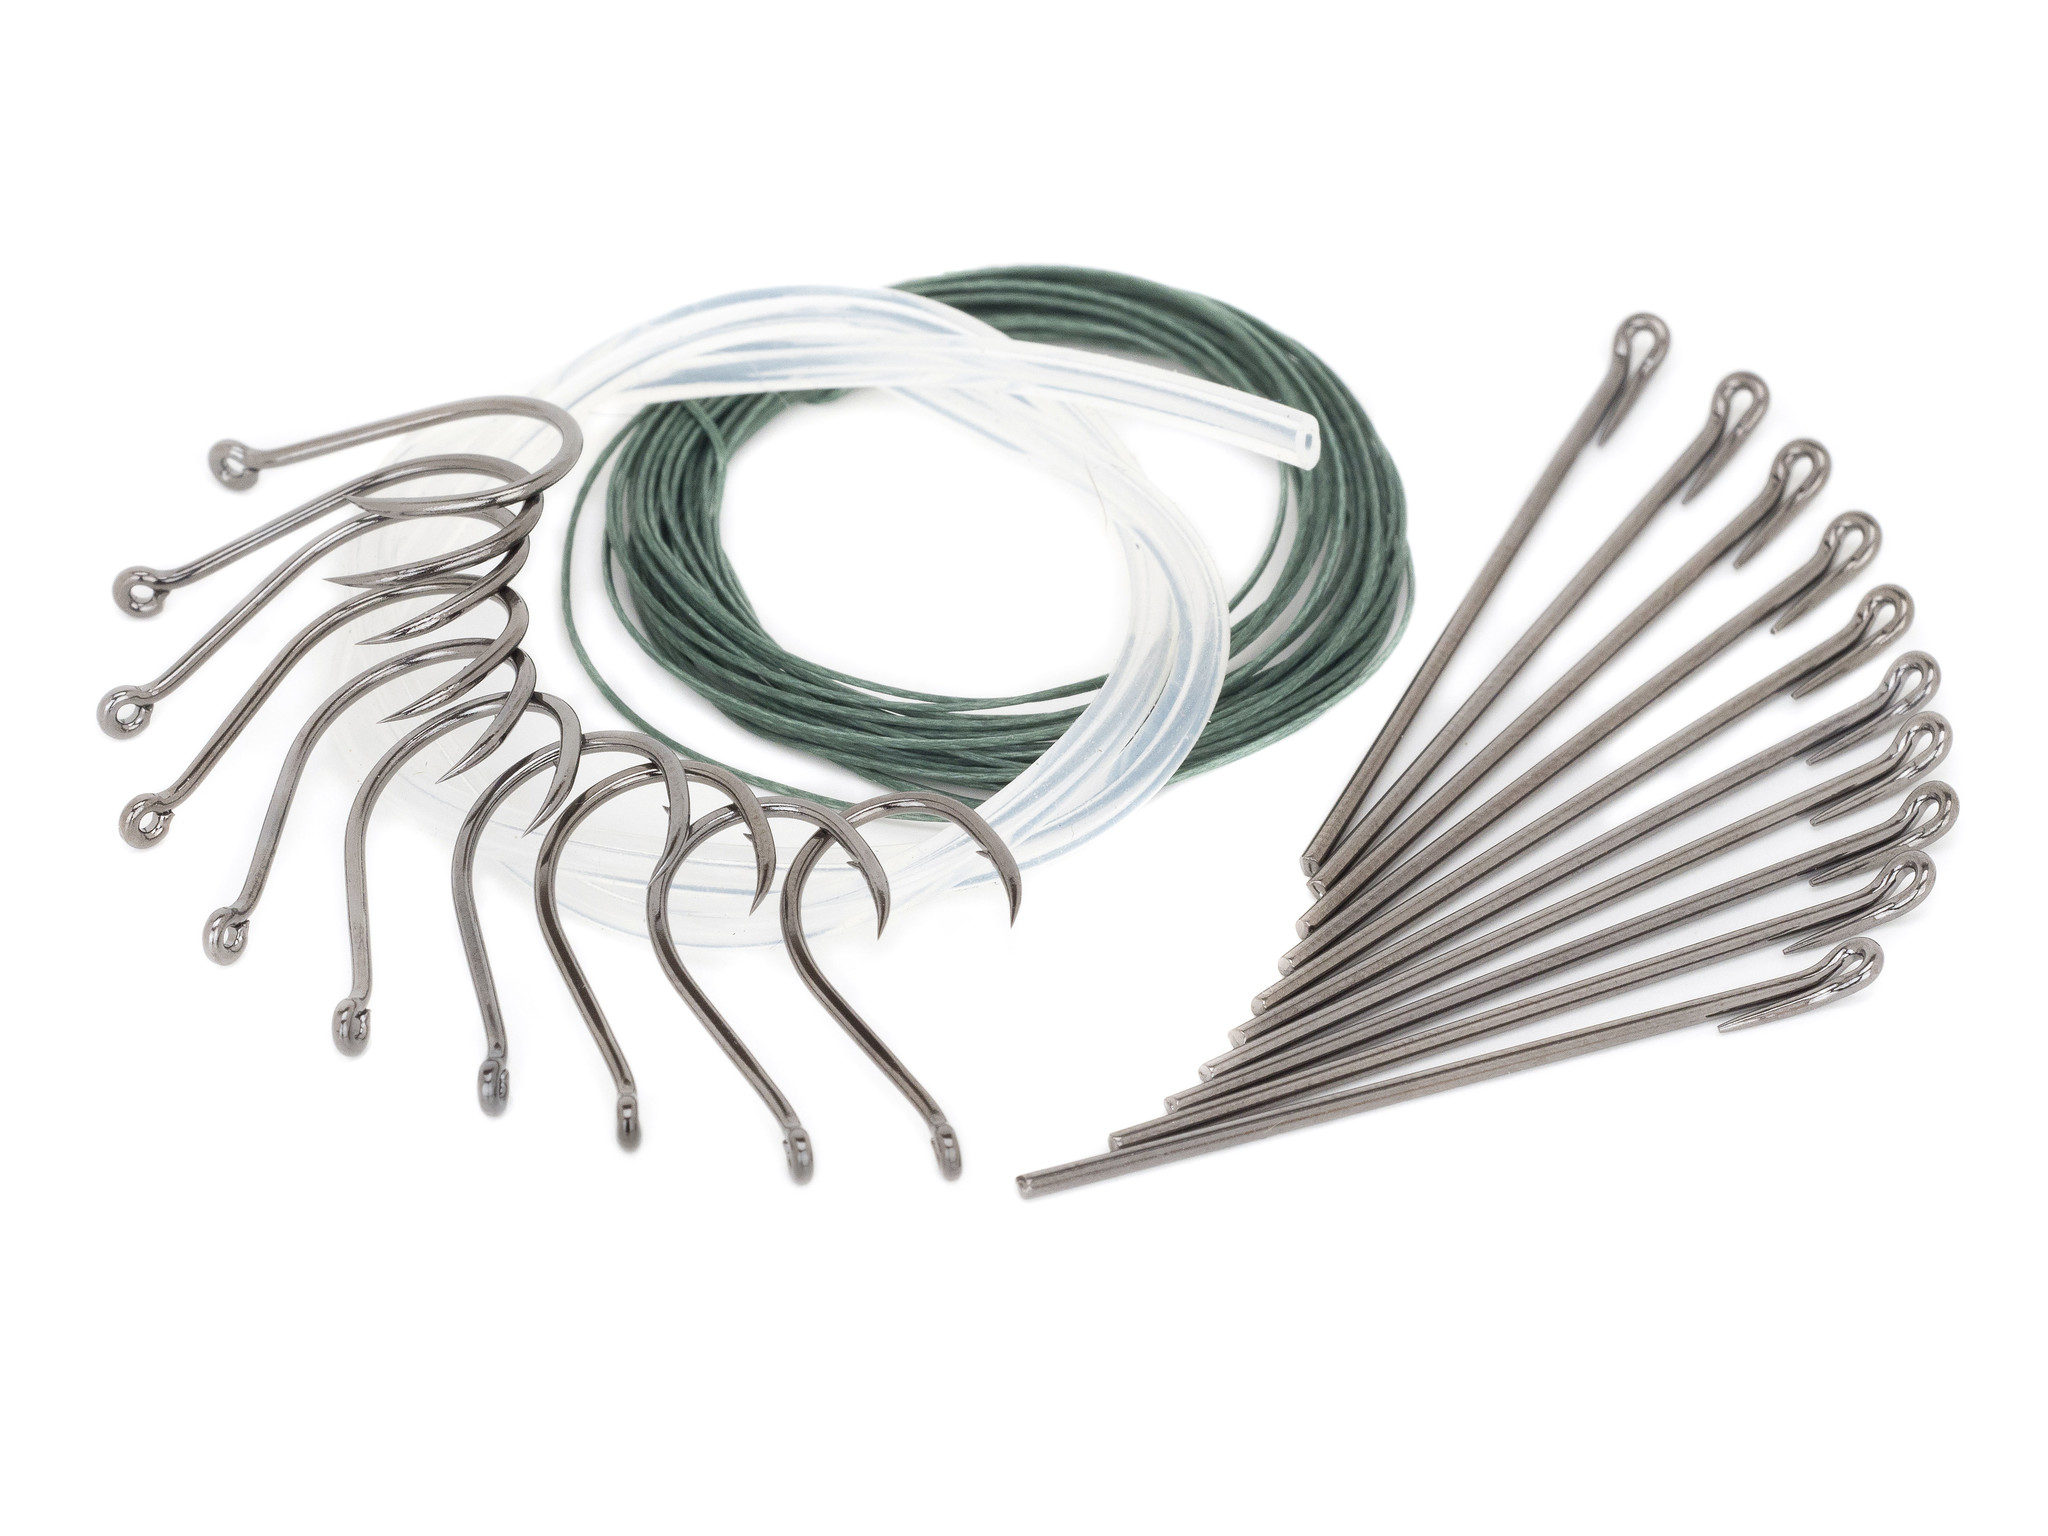
- Double with wire over and loop it around the be d of the trailer hook. We like Gamakatsu Octopus hooks with the up eye.
- Snug the wire up against the eye of the hook.
- Next you are going to place your shank into your vise and lay down a base of thread.
- Lash the wire down on top of the shank to about within 1/4” of the eye. Make sure you leave the hook far enough back that if you need to change it out you have room to slide it off.
- Now double the wire over and lash down the second layer going back towards the hook. Trim off the tag end of the wire. I like to lay down a coat of super glue to make sure the fly is indestructible.
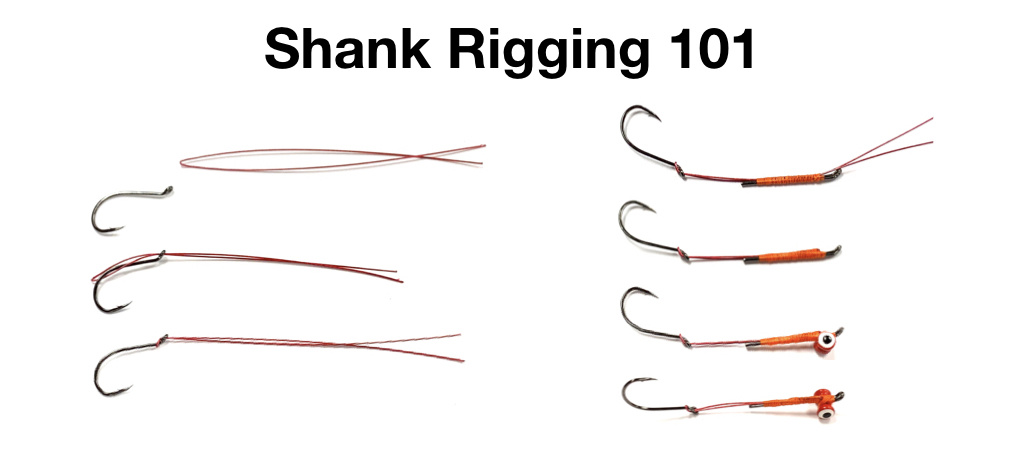
Here are a couple of thoughts about tying on these shanks
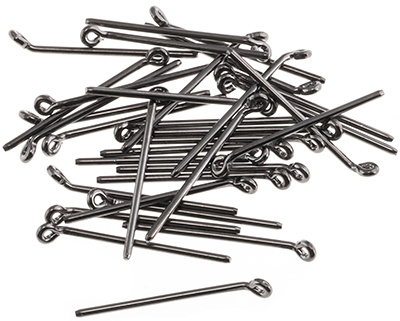
-There are a lot of shank styles, we mostly use the type that has an up eye and just a straight wire back end. We use the ring eye version for putting on either cones or beads and the return eye style for when we want to put barbell eyes on it.
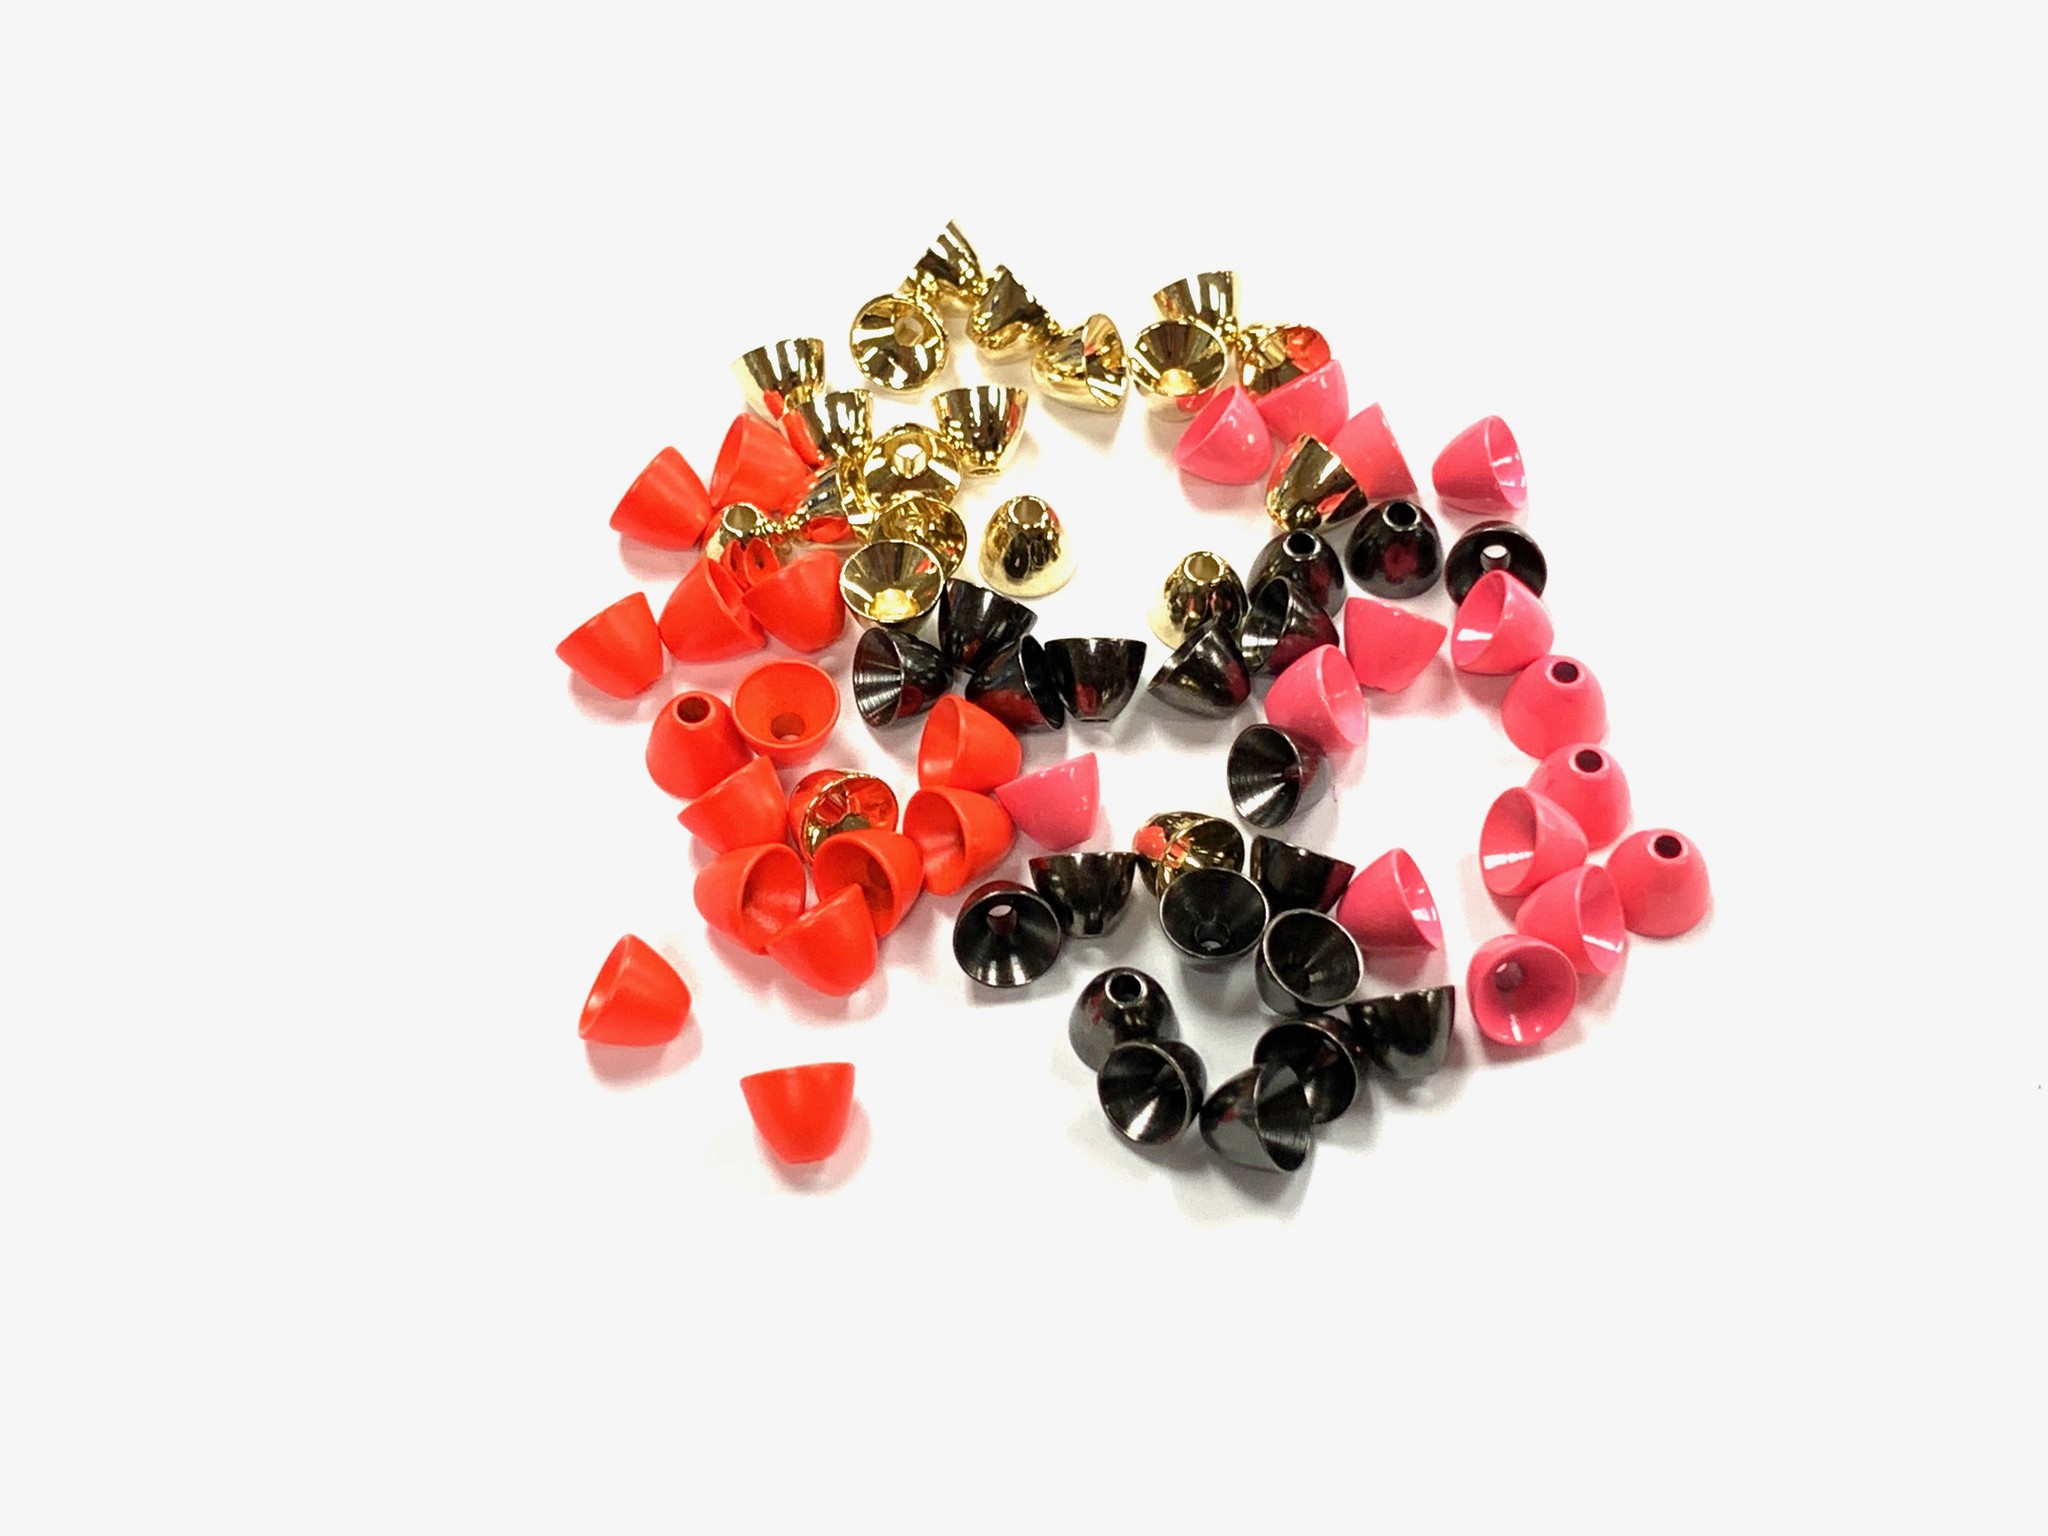
-If you are planning on putting a bead or a cone on make sure you put it on before you lash down the wire.
-If you are going to use a barbell I tie it on after I lash down the wire. I normally put it on the underside of the fly so it acts like a keel. Also if you tie on the barbells at the beginning it gives you a nice measured finish line.
-When trying to decide how far back to put my hook I normally don't want it to be hanging further back than my longest material, subsequently I want the hook to be far enough back that I can swap the hook out if it gets dull.
-We typically use wire for the trailing hook. Braid is a nice inexpensive alternative but it has a tendency to soften up as it gets wet and foul.
 |
 |
 |
| Return Eye Shanks | Round Eye shanks | Ultra Rig Kit |
 |
 |
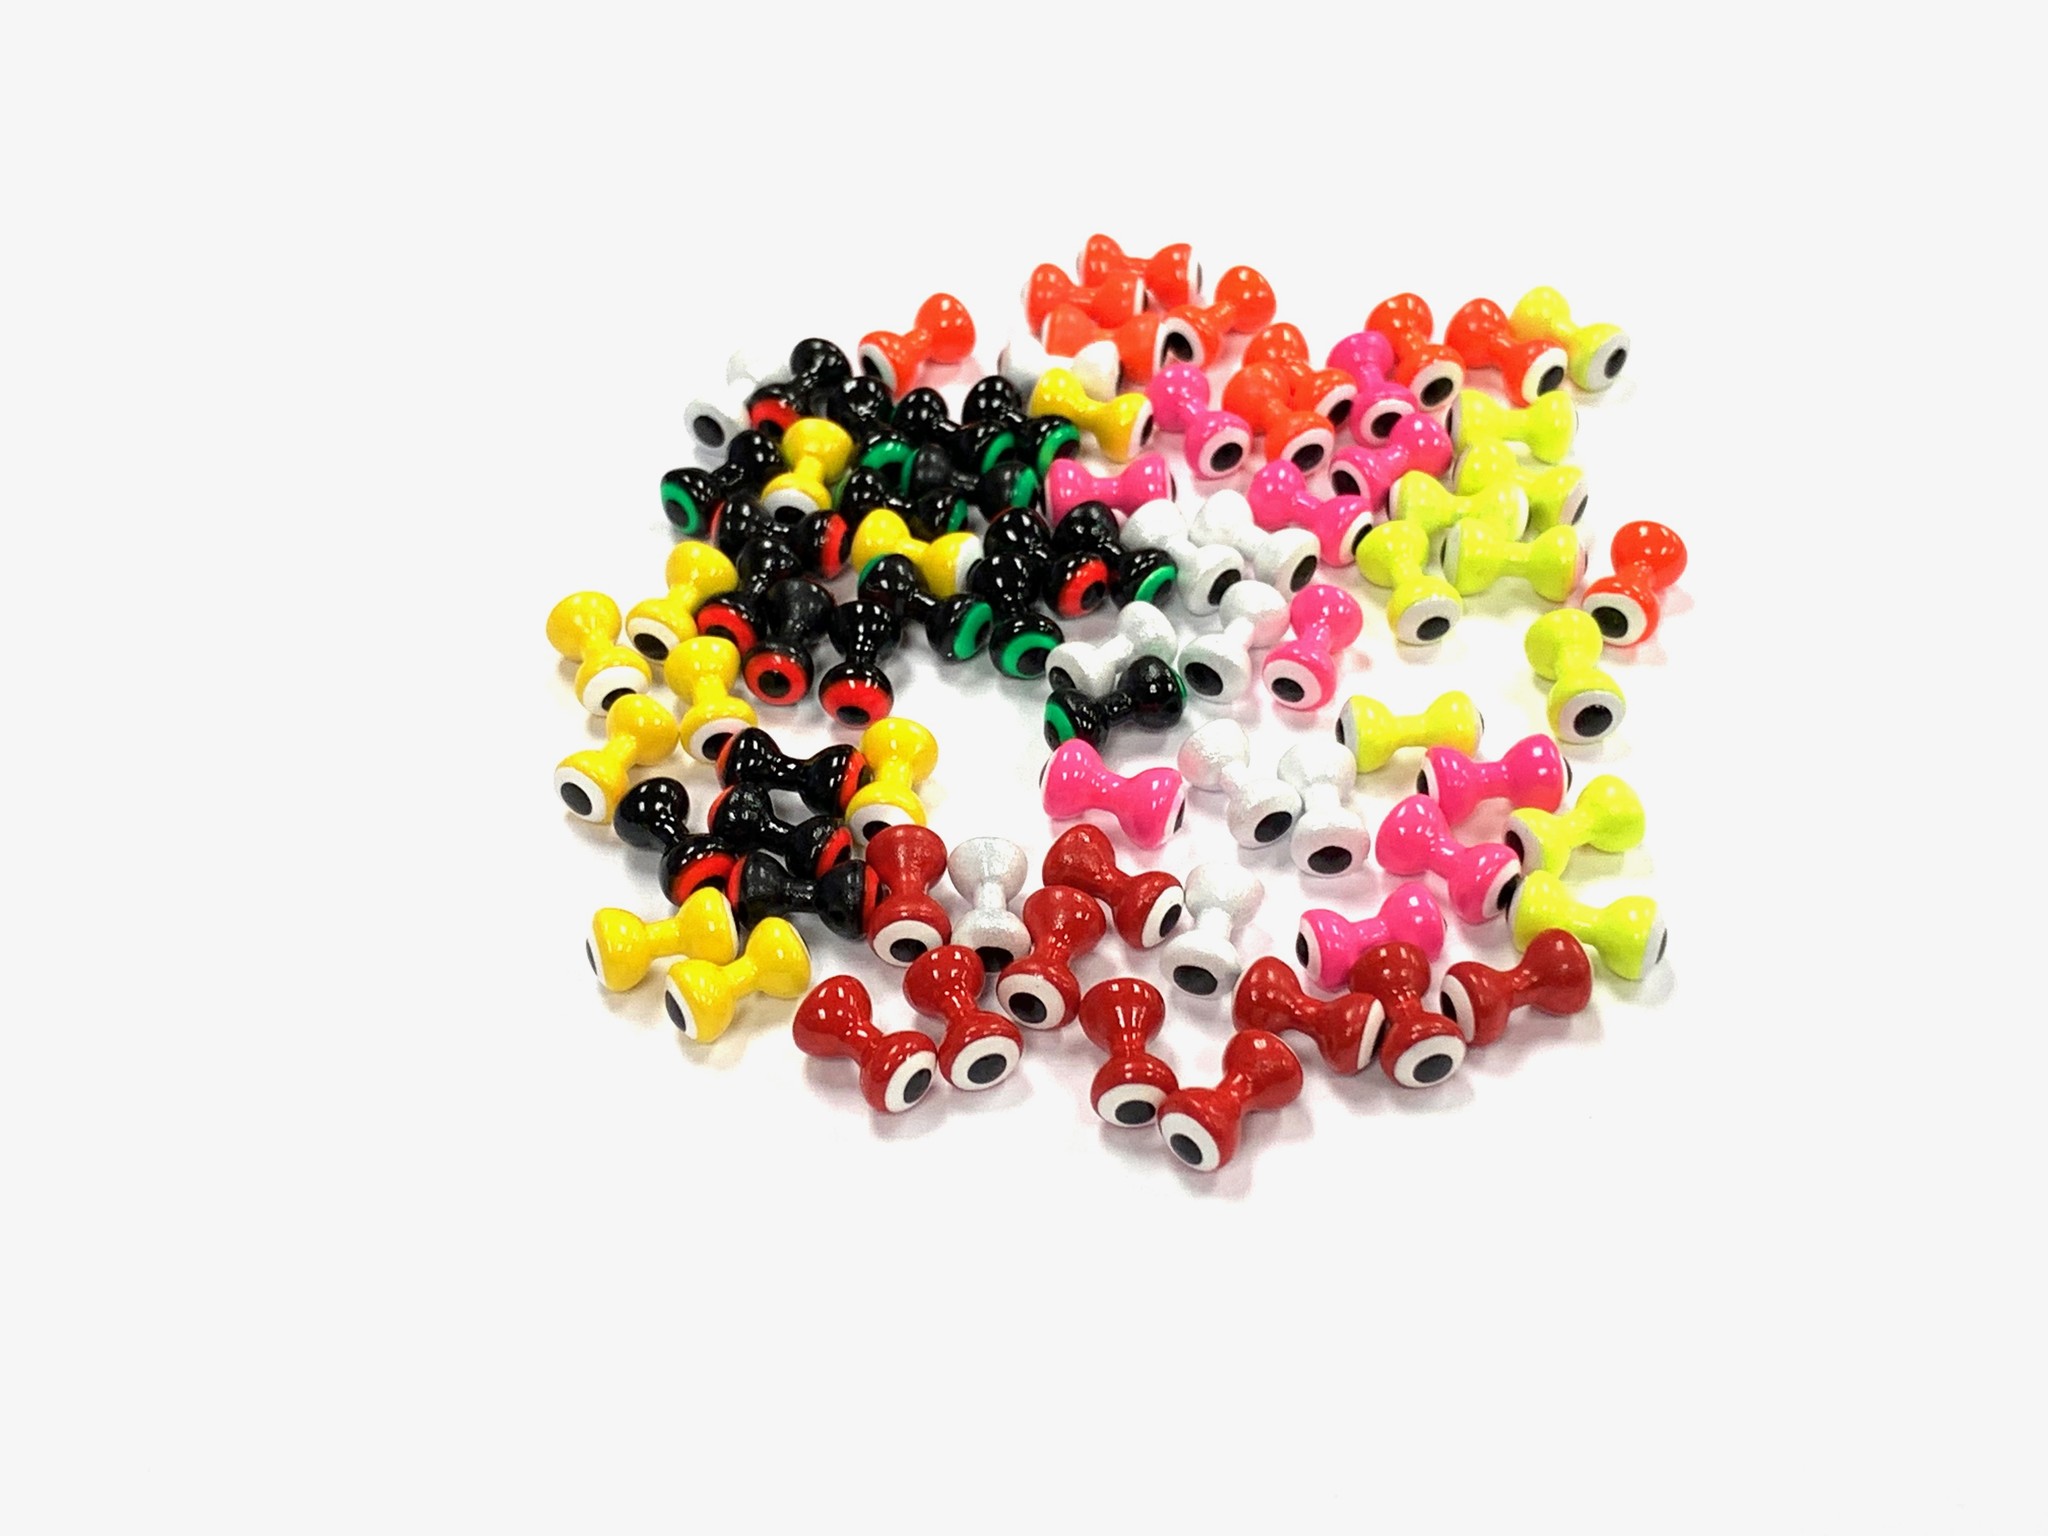 |
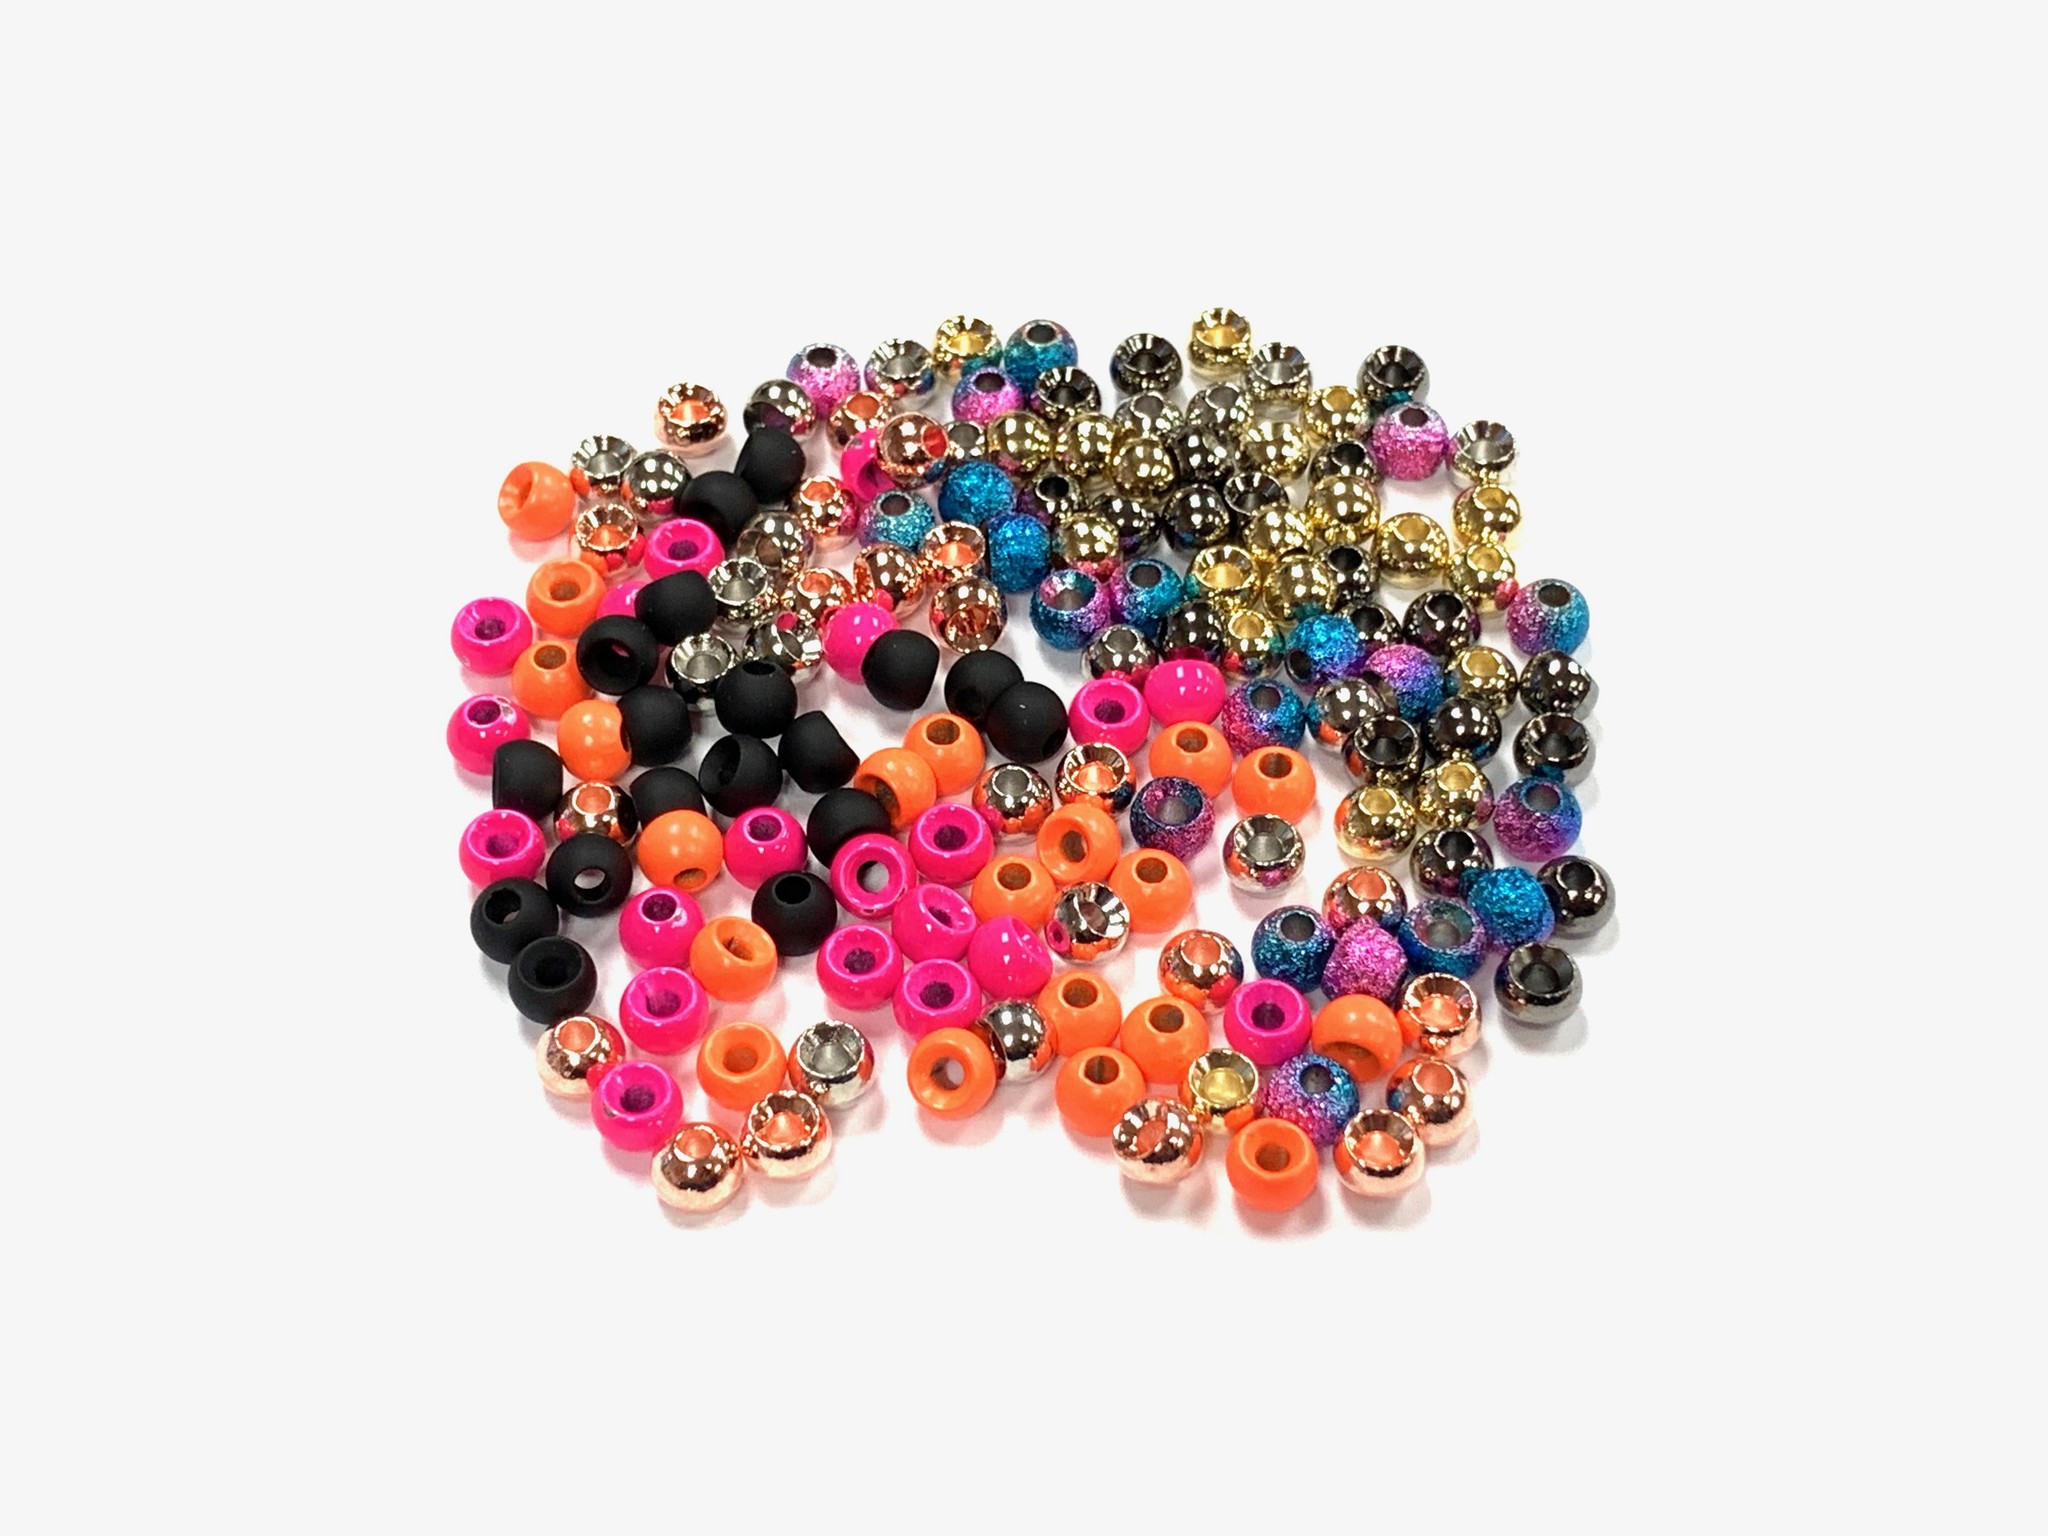
| Cones | Tungsten Beads | Lead Eyes |
 |
 |
 |
| Octopus Hooks | Wire | Shank Chuck Tool |
Leave a comment
Recent articles
View all
Winters not over yet
Twitchy Twitchy